Rebound
 Rebound
Connect a WordPress site
To back up a site, Rebound needs its Rebound plugin on the site. Rebound can install it for you with an administrator login, or you install it yourself.
Applies to: Rebound 2.0 · WordPress 5.6 or later · PHP 7.4 or later
To connect a site automatically
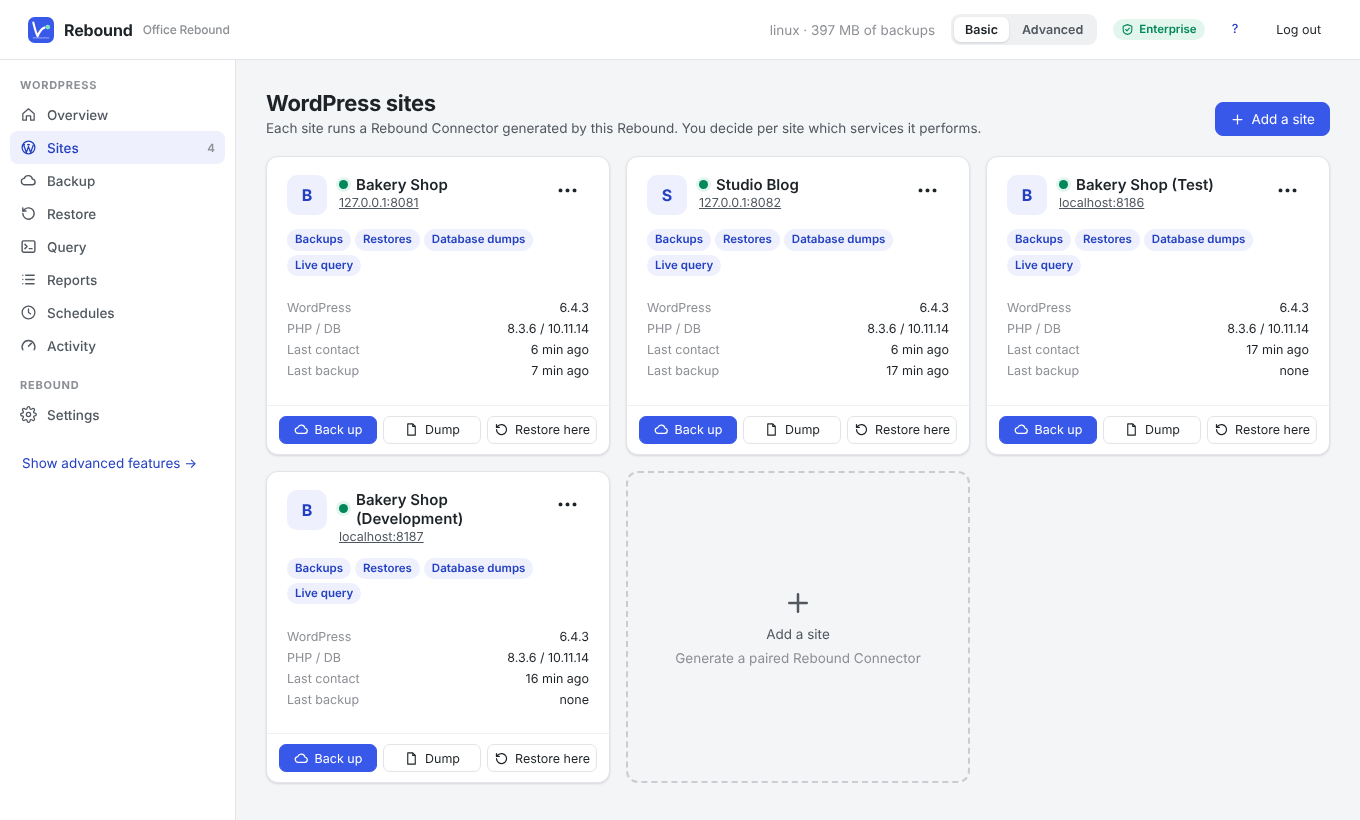
- On the Rebound page, choose Sites → Add a site.
- Enter the site address (for example
https://www.example.com). - Enter a WordPress administrator username and password.
- Click Connect site.
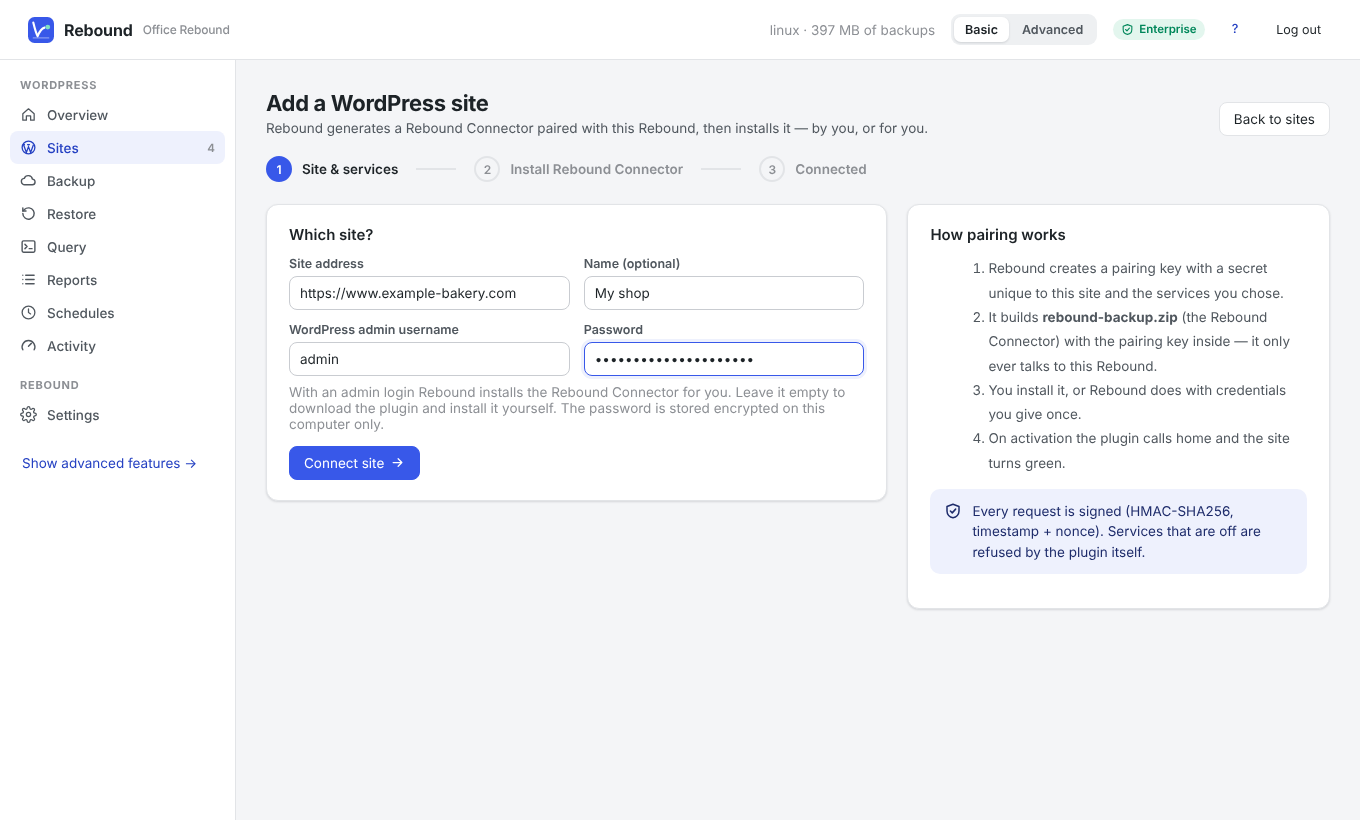
Rebound logs in to wp-admin, uploads the Rebound plugin that it built for this site, activates it and checks that it answers. After a few seconds the site turns green.
Note The password is stored encrypted on the Rebound computer only, so Rebound can reinstall or update the plugin later. Leave it empty if you prefer to install the plugin yourself.
To install the Rebound plugin yourself
- Add the site without a password. Rebound shows the Install the Rebound plugin step.
- Click Download rebound-backup.zip.
- In WordPress, go to Plugins → Add New Plugin → Upload Plugin, choose the file and click Install Now, then Activate Plugin.
- The Rebound page turns green by itself.
Other ways that work: unzip the file into wp-content/plugins/ with FTP/SFTP, or run wp plugin install rebound-backup.zip --activate. In Advanced mode, Rebound can also install through SSH (WP-CLI), SFTP, FTP or an application password.
Connection key
Each plugin Rebound builds contains a connection key (it starts with RLY1.) that pairs it with exactly one Rebound. To pair an already installed Rebound plugin — for example one installed from WordPress.org — copy the key from Sites → Plugin & services and paste it on the Rebound plugin page under Settings → Connection to Rebound.
Services per site
For each site you decide what it may do: Backups, Restores, Database dumps and Live query. The plugin itself refuses anything that is switched off. Change them under Sites → ••• → Plugin, license & services; Rebound pushes the change to the site.