 Rebound
 Rebound
Install and start Rebound
Rebound is one program file. You can start it as an ordinary program, or install it as a service so it runs in the background and starts with the computer.
Applies to: Rebound 2.0 on Windows 10/11, Windows Server 2016+, macOS 12+, Linux (x86-64, ARM64)
To start Rebound as a program
- Copy
rebound.exe(Windows) orrebound(macOS/Linux) to a folder of your choice. - Double-click it. Rebound finds a free port (starting at 8090), starts its web server and opens the Rebound page in your browser.
- A Rebound icon appears in the system tray (Windows), menu bar (macOS) or status area (Linux). Click it to open the page again.
On the first start, choose an administrator password for the page:
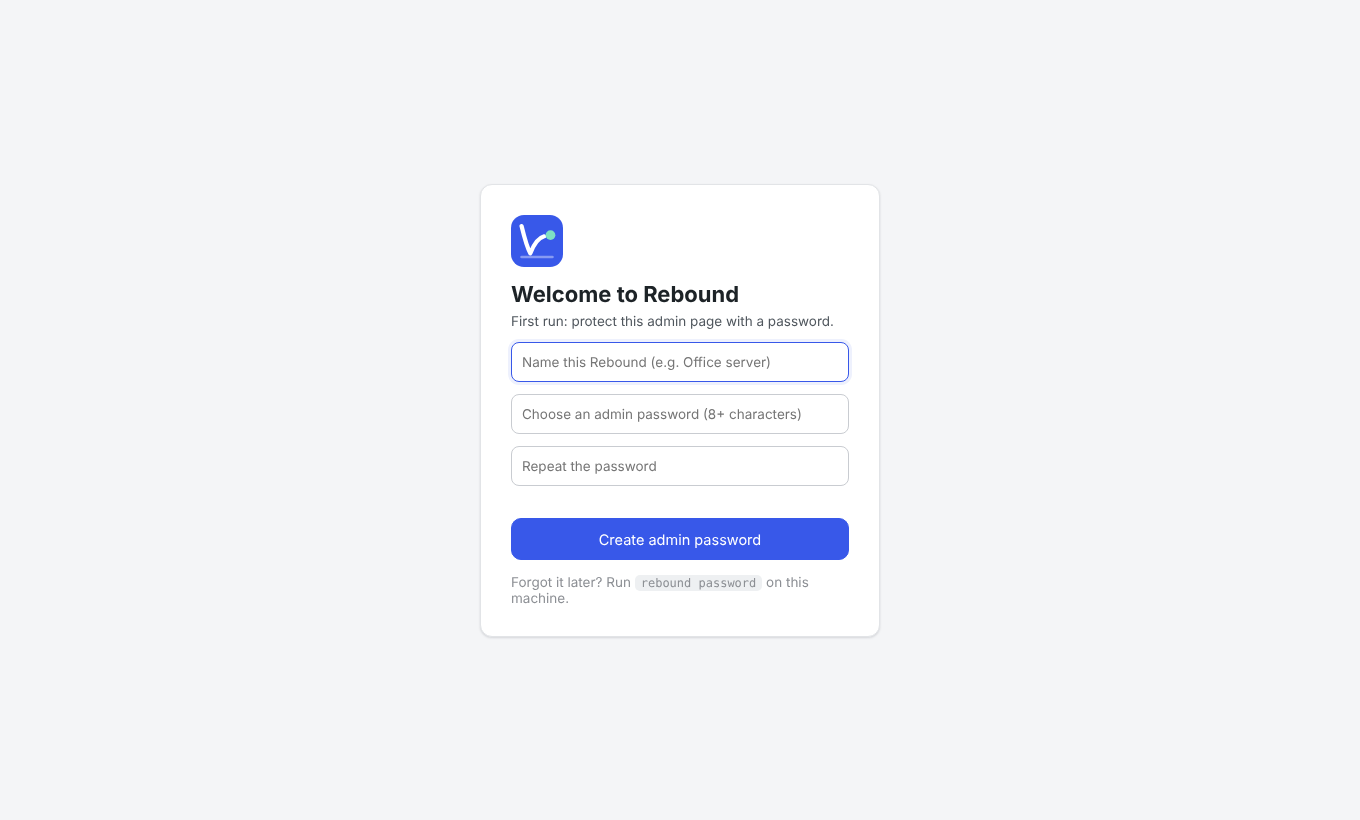
Important The first-time password can only be set from the computer Rebound runs on. Forgot it? Run rebound password on that computer.
To install Rebound as a service
A service keeps running when nobody is logged in, starts with the computer and may change firewall rules.
| System | Command | Result |
|---|---|---|
| Windows | PowerShell as administrator: .\rebound.exe service install |
Windows service "Rebound", automatic start, plus a tray icon at login |
| Linux | sudo ./rebound service install |
systemd unit rebound.service (logs: journalctl -u rebound -f) |
| macOS | sudo ./rebound service install |
LaunchDaemon app.getrebound.daemon |
Other service commands: rebound service status | start | stop | restart | uninstall. When the service is installed, click the tray icon to open the Rebound page.
Where Rebound keeps its data
| System | Folder |
|---|---|
| Windows | C:\ProgramData\Rebound (shared by the program and the service) |
| Linux | /var/lib/rebound (service) or ~/.local/share/rebound |
| macOS | /Library/Application Support/Rebound (service) or ~/Library/Application Support/Rebound |
The folder holds config.json (settings), relay.db (sites, backups, schedules), the encryption key for stored passwords, and by default the backups themselves. Use --data-dir to choose another folder.
Tip WordPress sites must be able to reach Rebound for the fastest (WebSocket) connection. Set the Public address under Settings to an address the sites can reach, for example https://backup.example.com or http://192.168.1.20:8090 on a local network. Rebound still works when sites cannot reach it — it then calls the sites itself.