 Rebound
 Rebound
Licenses: Trial, Pro and Enterprise
Rebound starts with a 7-day trial that includes every feature. After that it continues as Free unless a Pro or Enterprise key is entered.
Applies to: Rebound 2.0 · Rebound plugin 2.0
| Feature | Free | Pro | Enterprise |
|---|---|---|---|
| WordPress sites | 1 | 5 | Unlimited |
| Manual backups and restores, partial restore | ✓ | ✓ | ✓ |
| Live query, standard reports | ✓ | ✓ | ✓ |
| Incremental backups | – | ✓ | ✓ |
| Schedules with rolling retention | – | ✓ | ✓ |
| OneDrive, Google Drive, Dropbox, S3, WebDAV, SFTP, FTP | – | ✓ | ✓ |
| Offline queries (SQLite), custom reports | – | ✓ | ✓ |
| Docker test environments (DTAP) | – | – | ✓ |
To enter a license key
- In Rebound choose Settings. The License card shows the edition, the number of sites and the expiry date.
- Paste the key (it starts with
RBD1-) and click Activate.
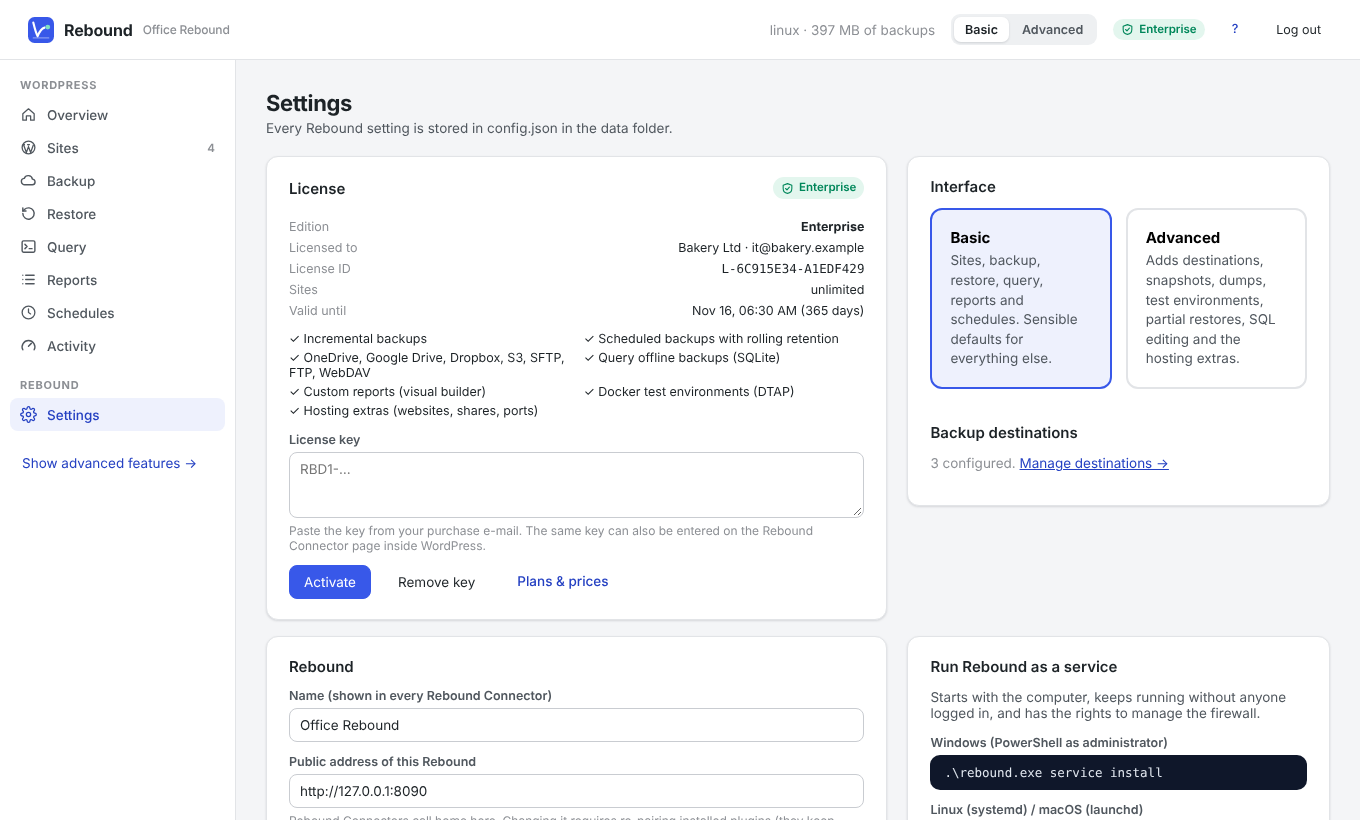
You can also enter the key in WordPress on the Rebound plugin page (Settings → License). It then applies to that site in Rebound.
Keys are checked offline with a digital signature; Rebound does not need to contact a server.
For the vendor: creating license keys
License keys are signed with a private key that only the vendor has (licensing/private.key). Create keys on the command line:
rebound license issue --tier pro --name "Customer Ltd" --email it@customer.com --days 365
rebound license issue --tier trial --days 7 --name "Prospect"
rebound license issue --tier enterprise --sites 0 --days 365 --name "Agency"
rebound license verify RBD1-…
!
Important Keep licensing/private.key secret and back it up. If you create a new key pair with rebound license keygen, rebuild Rebound — keys signed with the old key stop working.